Week 9
Week 9
Static Models
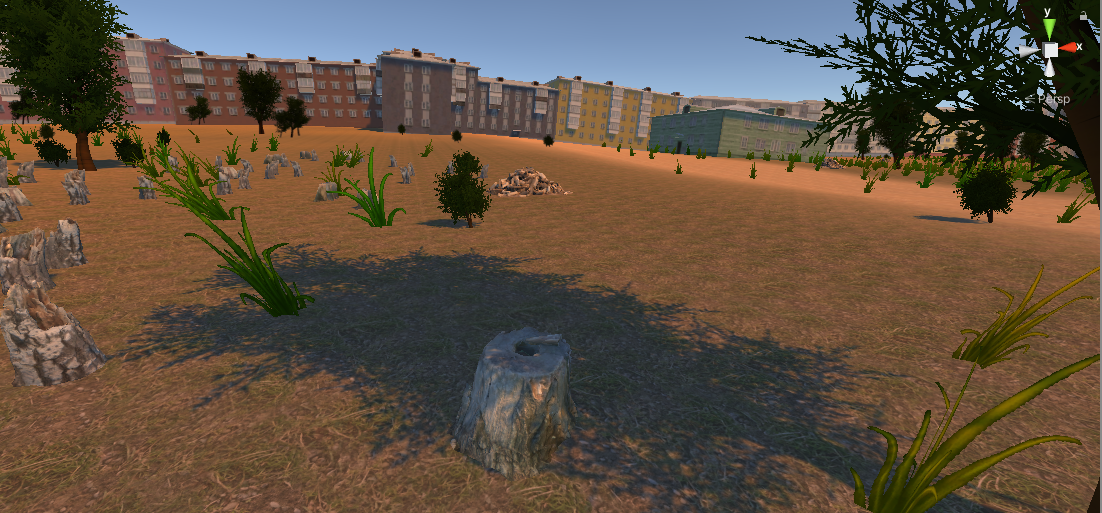
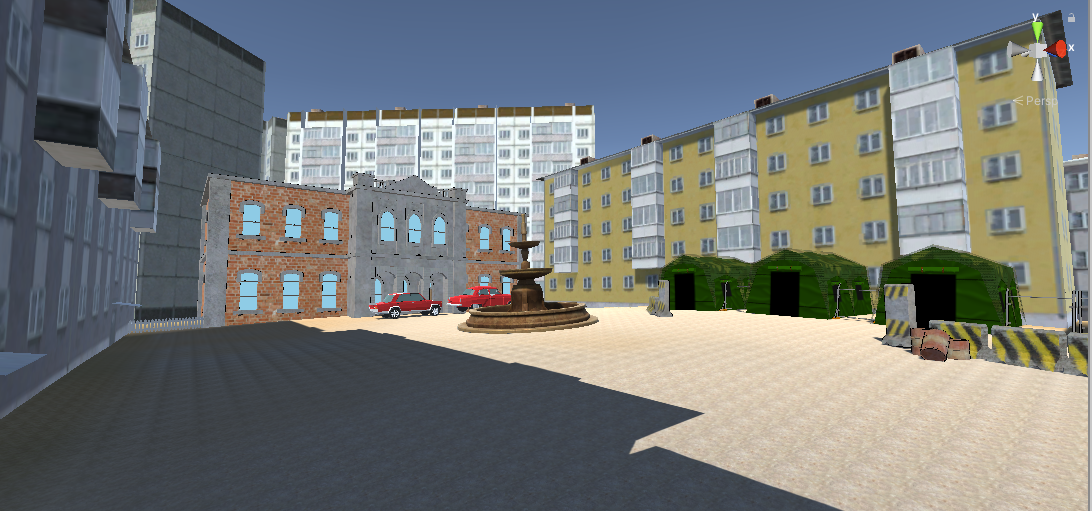
This week, Sam is working on more static models for level design to use. Static models have been made this week is Larry's(end level boss) house, this building is referenced to Tasmania parks and wildlife service old building image found online, also a traffic light that able to change lights for urban area levels, the traffic light is the same looking we see on the street at Tasmania.
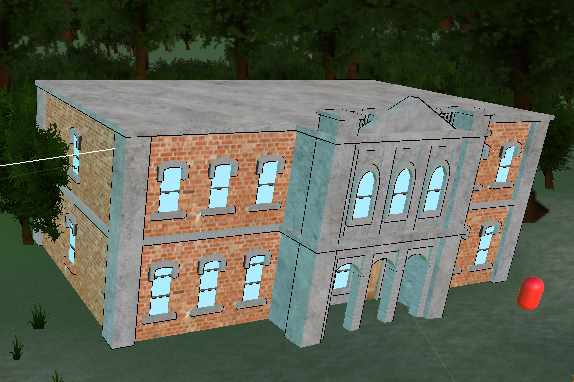
The Larry building model screenshot from the Unity project by us.
The Larry building is having the most detail compare to existing buildings even players can't find out at gameplay, this probably is because I'm having poor texturing skills, hopefully, it could not looks this flat after the ambient occlusion map was baked out. The window has a separated material and UV layout, at the later implementation of the game, reflection also could bake onto the window if needed, which is just optional.

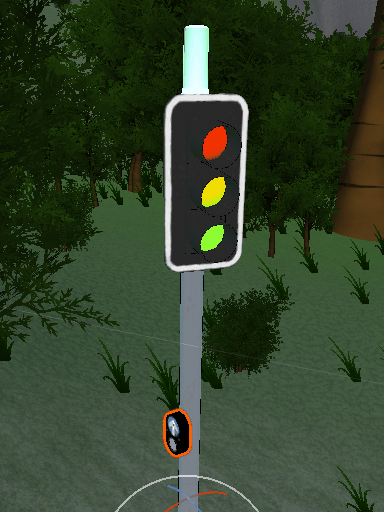
The traffic light model screenshot from the Unity project by us.
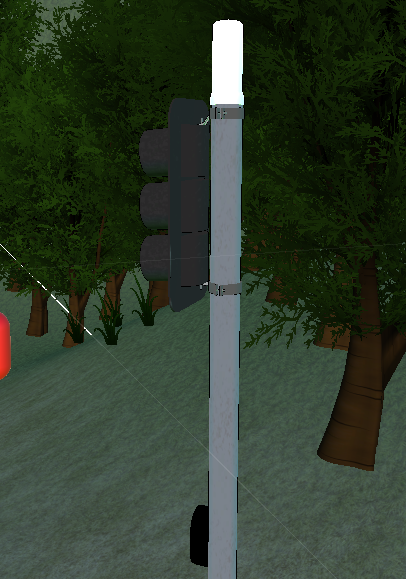
The traffic light model screenshot from the Unity project by us.
The traffic light button rotates gif image from the Unity project by us.
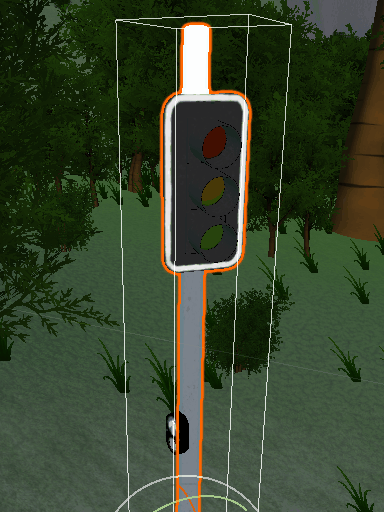
The button of the traffic light is able to rotate independently to the main body, this could give more freedom for level design to have more possible placement in the direction.
The traffic light change lights independently gif image from the Unity project by us.
The light of the traffic light could light up and off independently, this is operated by BlendShapes key from Skinned Mesh Renderer component, 3 separated BlendShapes is controlling the 3 color hidden light bulb(on light) behind the default mesh(off light), when one of the BlendShapes value set to 1, the hidden light bulb(on light) will scale and move in front to the default mesh(off light), this could also happen during the game runtime. Each light bulb is having a separated material, they could also add emission effects with a different color at run time control with BlendShapes at the same time.
Level Design - Simon
This week I have been working on levels 4 and 5. We have decide to complete 4 levels, level 1, 4, 5 and 8. We believe these are the base levels needed to make the game feel "finished." Once these 4 core levels are completed this gives us the flexibility to choose take out or implement levels depending on the time we have left. Levels 4 and 5 were originally a single level shown below:
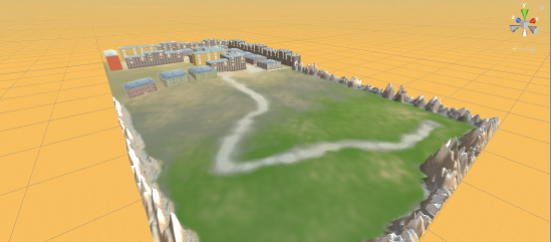
After some self reflection and game testing I decided for game performance I would split the level in half so the player just reaches the outskirts of the town, finishes that level and starts the next inside the town.

New Level 4:

Level 4, I gave a slight feel of sunset as I would like to if I have time make the town scene a night time scene.
New Level 5:
Main Menu
Previously James had put in a base structure to the main menu. From there Luke added in the background image, added in the Play, Options, Quit and Ian Mode buttons.
Prior to this unit, Luke has never drawn any kind of anime drawings before. But we needed some, so he gave it a go. He drew the logo and imported it into the project as the background image.

The Play button takes the player into level 1, where all good games should start.
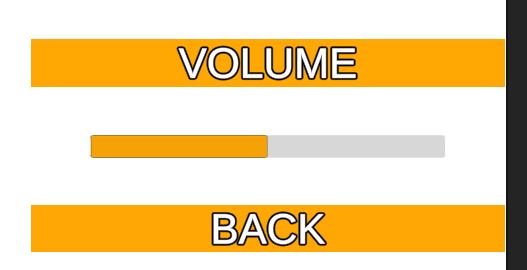
The Options button takes the player into a submenu where they can adjust the volume. Could also add in a rebind controls menu here later on.
The Quit button does nothing at this stage, but when the project is finally finished, we would like the option to run it on something other than WebGL, so a Quit button would be needed.
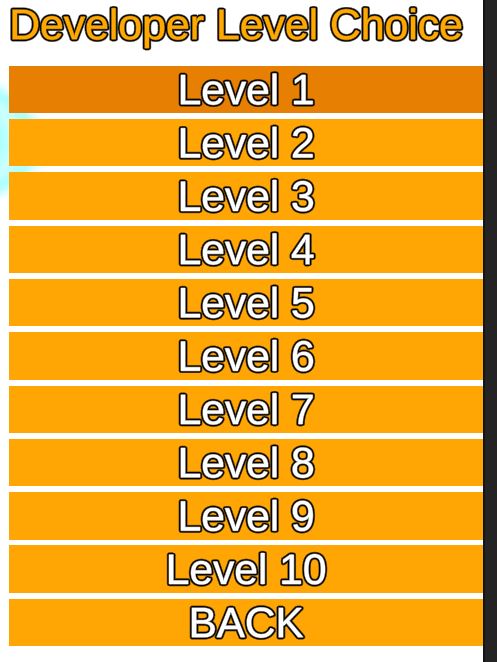
The Ian mode button takes the player to a sub menu where they can directly access any of the levels in the game. Currently they all take the player to level 1, but as levels are added to the game, this will be updated.
References
Tasmania Parks and Wildlife Service, The Customs House building before the restoration, viewed 9 September 2021.
<https://m.facebook.com/tasmaniaparks/photos/pcb.10158370963684297/10158370961144...>
Leave a comment
Log in with itch.io to leave a comment.