Week 5 Lighting
Week 5
Lighting
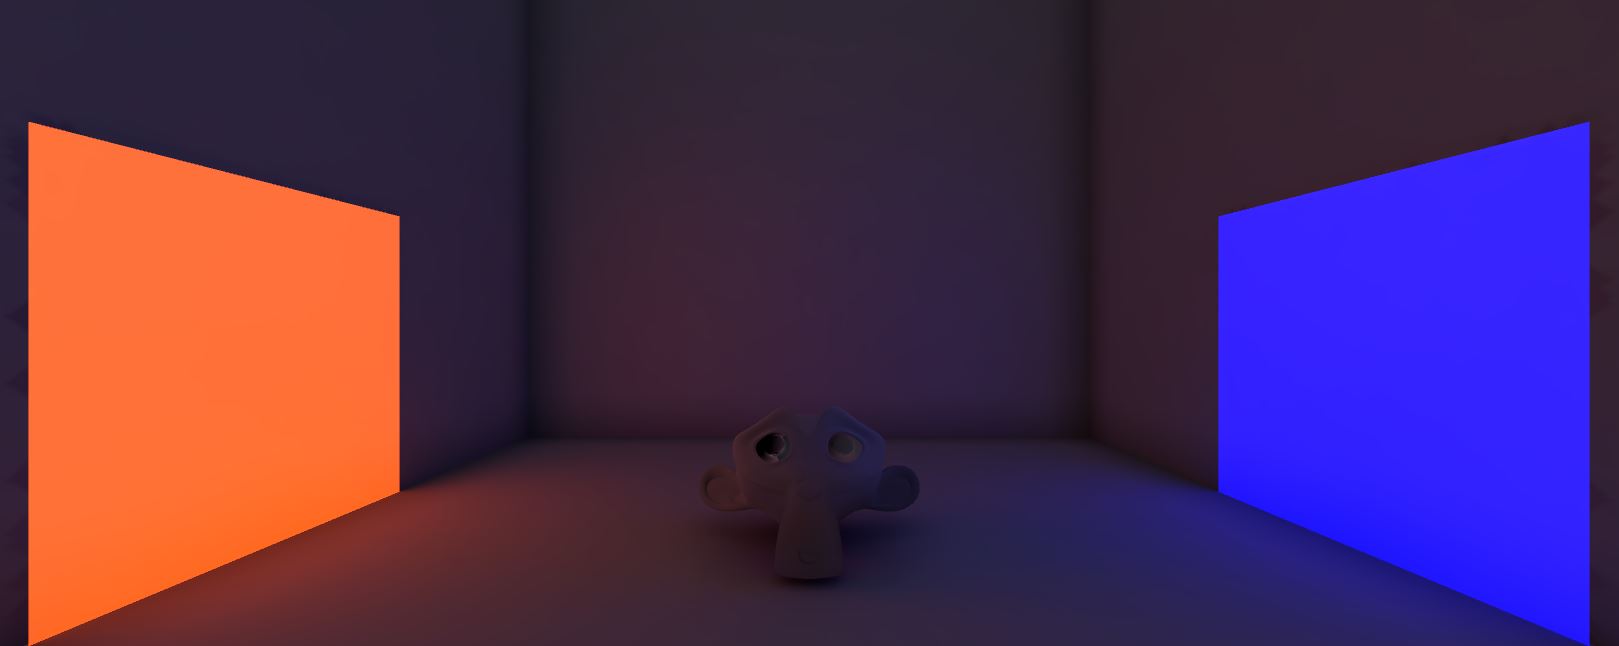
This self study was focused on creating lighting for your scene. I watched all the tutorials on this (Brackeys 2018) that we were supposed to. I originally created the monkey as per the tutorial, even created the box and monkey as the link in the tutorial was not working. Worked ok I guess. Something funky was going on with the eye and I think it had to do with "overlapping UV"....
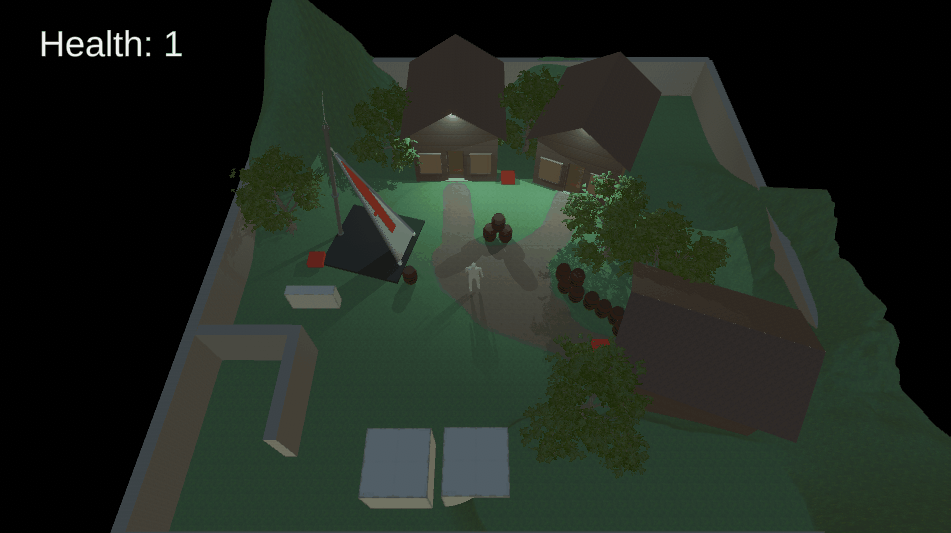
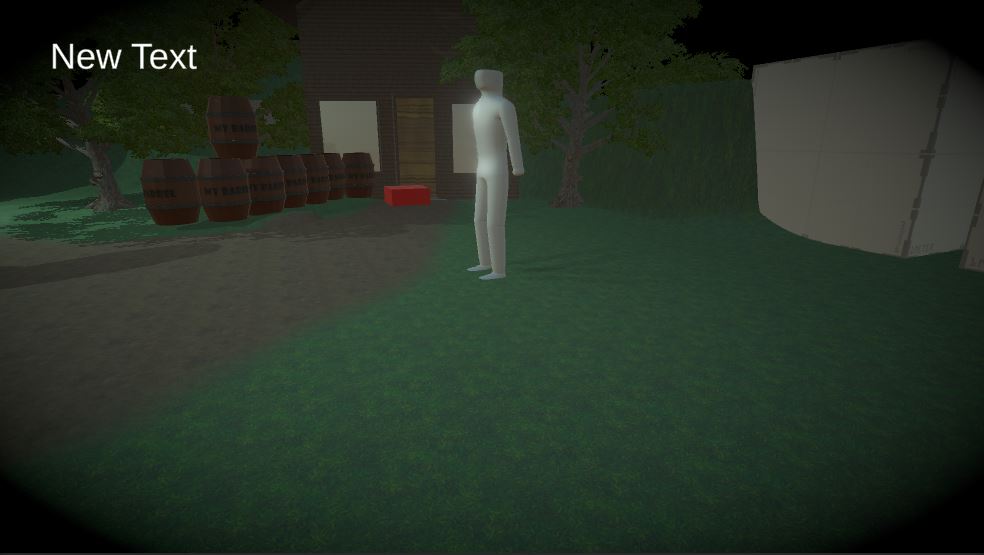
From there I had to add some lighting to my scene I have been creating. Here is the original before I added the lighting.

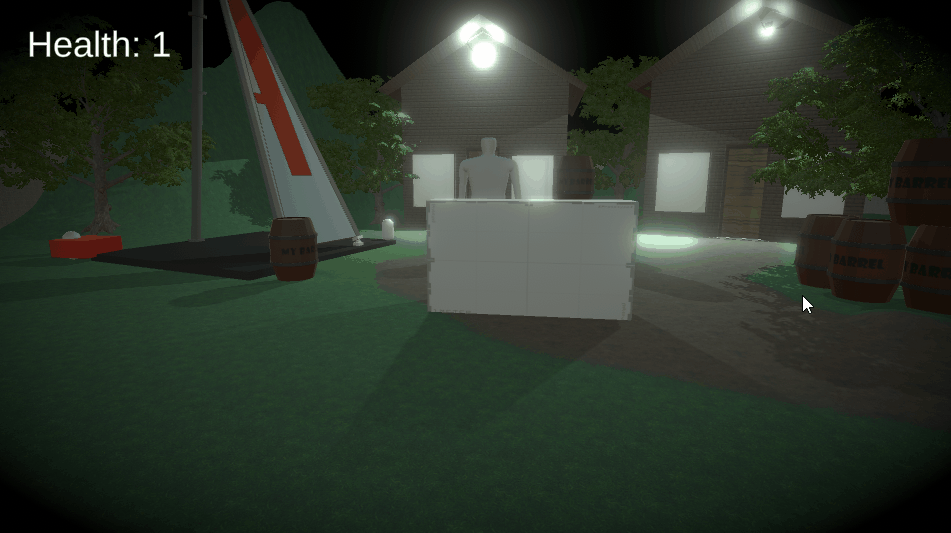
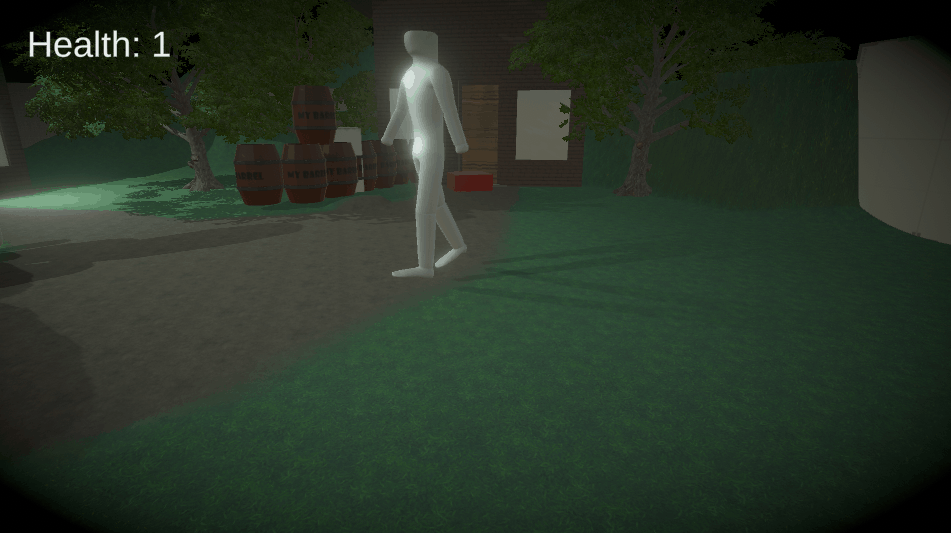
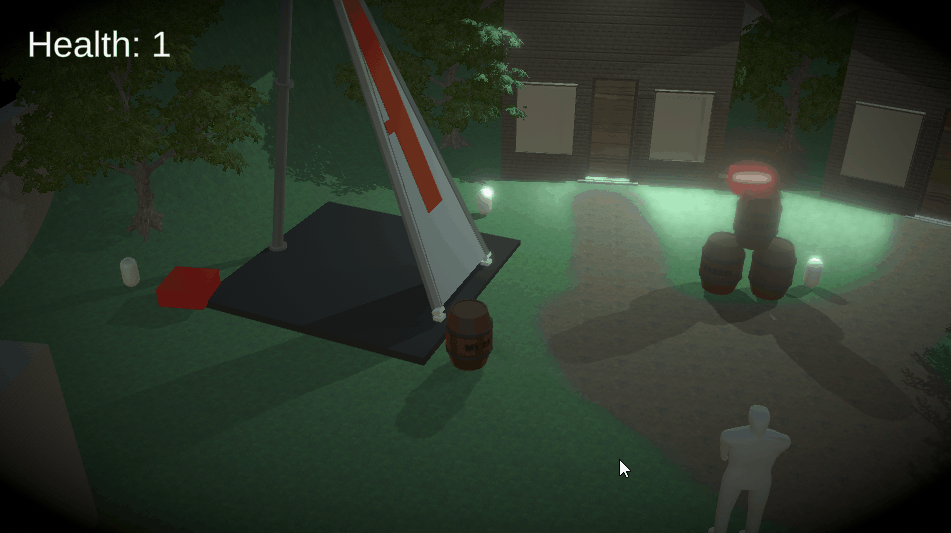
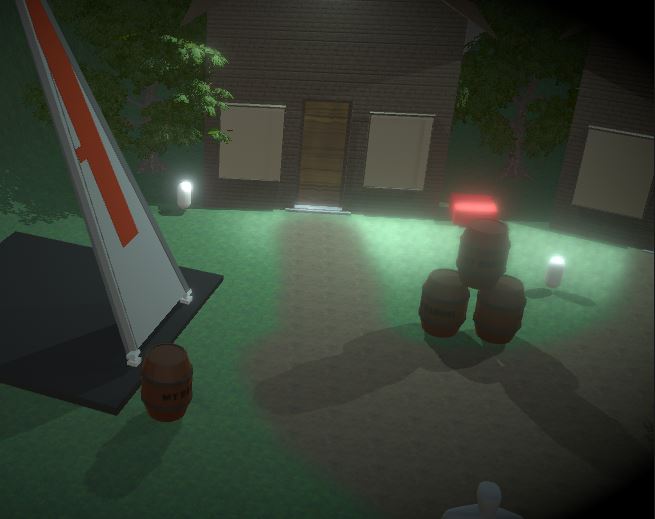
I created some quick spot lights using ProBuilder and stuck them on the fronts of two of the houses. I added a spot light to each of them and aimed it out from the light itself. This gives a nice soft light showing shadows of the barrels and the player as they move around. I also added a bloom effect to a plane object and stuck it behind the door of the houses so it will show "inside" light when the door opens.
Now, if I can find some time, I will try and update my player model to my new goblin :)
Tutorial 5
Cinemachine
In the tutorial we had to add a cinemachine into our scene so we could play around with some virtual cameras. This allowed us to do things like change camera to follow the player
and to run on a dolly track,
but also, follow a target group of objects in the scene.
Post-processing
We also had to add in some post-processing effects to "enhance" the game.
I added a Vignette effect to the global camera to create a more darkened feel to the scene,
and a bloom effect to make the lights on the houses pop a little more.
Overall, Im happy with the effects it creates and am looking forward to importing these into the assignment game.
References
Brackeys 2018, Lighting in Unity, viewed 11 August 2021.
<https://www.youtube.com/watch?v=VnG2gOKV9dw>
Brackeys 2018, Realtime Lighting in Unity, viewed 11 August 2021.
Leave a comment
Log in with itch.io to leave a comment.